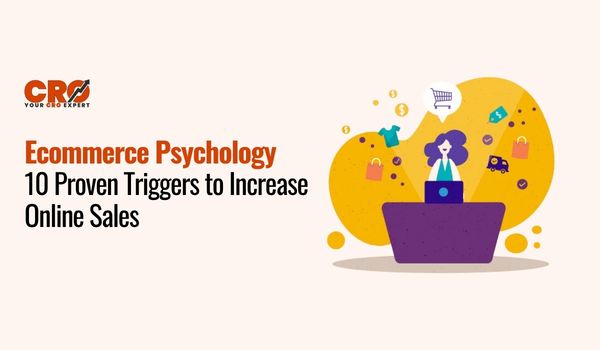
It is one of those situations, to which any e-commerce owner is all too accustomed, you get a steady traffic, your products are excellent, but your conversion rate remains at the same point. You are asking yourself, why not all of my visitors become buyers? The difference between a browse and a buy is often a minor friction point which you are yet to determine.
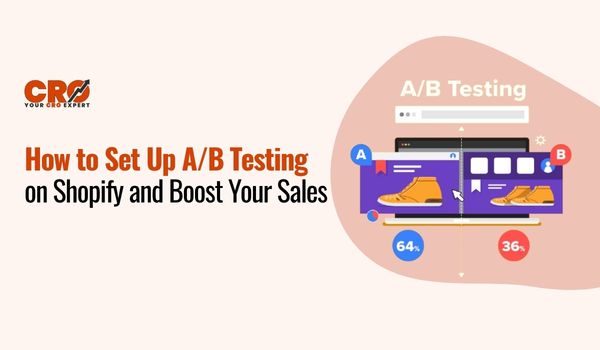
It is at this point that A/B testing will be your greatest friend. An A/B testing explanation is simple: it is the process of comparing two versions of a webpage to see which one performs better based on real user data. The reason why this approach is so beautiful is that you will be able to get more sales without having to invest an additional dime in traffic building. In this guide, you will learn the essential step by step A/B testing workflow to optimize your store, remove the guesswork, and start making data-backed decisions that grow your revenue.
What is A/B Testing in Shopify?
At its simplest, A/B testing is a “this vs. that” experiment. You take a page on your store, create two versions of it, and see which one performs better with real customers.
- Version A (Control): Your current page (e.g., a green “Add to Cart” button).
- Version B (Variant): The same page with one change (e.g., a blue “Add to Cart” button).
Shopify splits your traffic 50/50 between the two. If the blue button gets 20% more clicks, you’ve found a winner! This A/B testing explanation is the foundation of data-driven growth. On Shopify, you can test everything from headlines that convert and product imagery to pricing displays and page layouts, all without needing to be a coding expert.
Why A/B Testing Matters for Your Store
Why bother? Because guessing is expensive. A/B testing turns your Shopify store into a laboratory for growth by:
- Boosting Conversions: Identifying exactly what makes visitors click “Buy.”
- Removing Bias: Making decisions based on hard data rather than “gut feelings.”
- Enhancing UX: Creating a smoother, more intuitive shopping experience.
- Compounding Gains: A 0.5% increase here and a 1% increase there can result in thousands of dollars in extra revenue over time without spending a cent more on ads.
What You Need Before Starting
Before you hit “start” on your first experiment, ensure you have these four essentials in place:
- Traffic: You need enough visitors (typically 1,000+ per test) to ensure your results aren’t just a fluke.
- A Clear Goal: Know exactly what you want to improve, whether it’s “Add to Cart” clicks or newsletter sign-ups.
- One Variable: Only test one thing at a time (like a headline or a button) so you know exactly what caused the change in behavior.
- The Right Tools: Ensure you have Google Analytics set up or a dedicated cro tool for Shopify to track your metrics accurately.
Step-by-Step Guide to Setting Up A/B Testing on Shopify
Now for the main event your complete step by step A/B testing roadmap for Shopify. This process will guide you through creating, running, and applying the results of your tests effectively.
Step 1: Define Your Goal
Before you even think about changing elements on your site, clearly define your objective. As discussed, what specific behavior do you want to influence? Let’s say your goal is to “Increase ‘Add to Cart’ clicks” on a key product page. This goal is specific, measurable, and directly impacts your sales funnel. Having this clear target will guide every subsequent step.
Step 2: Choose What to Test
Once you have a goal, brainstorm potential variables on that specific page that could affect that outcome. Think about elements that influence user psychology or clarify information. For our goal of increasing ‘Add to Cart’ clicks, you might test:
- The “Add to Cart” Button: Test different colors, text (e.g., “Buy Now” vs. “Add to Bag”), sizes, or placement (e.g., above or below the fold).
- Product Image: Test different main images (e.g., lifestyle shot vs. plain white background, different angles), or even try using a short video instead of static images.
- Headlines and Subheadlines: Test variations of your product title or use compelling headlines that highlight key benefits. For guidance, consider researching headlines that convert.
- Product Pricing: While you don’t want to constantly fluctuate prices, you can test how the price is presented (e.g., showing only the final price vs. a “was/now” style with a clear savings percentage).
- Product Description: Try a concise bullet-point description against a longer, narrative-driven story. Test the placement of key product details.
Choose just ONE variable to start. For this example, let’s test the ‘Add to Cart’ button text: “Add to Cart” vs. “Shop Now”.
Step 3: Pick an A/B Testing Tool
While Shopify has some limited native features and integrates well with various tools, most store owners benefit from using a dedicated CRO tool for Shopify. These apps simplify the test setup, traffic splitting, and statistical analysis, making the process much more accessible and reliable.
When exploring options, consider factors like ease of use, features (multi-page testing, multivariate testing, etc.), integration with Shopify, and, of course, your budget. Many tools offer tiered pricing, often with a free trial or entry-level plan for smaller stores. Avoid becoming overwhelming by starting with a simpler tool and scaling up as you gain experience.
Step 4: Create Two Versions (A & B)
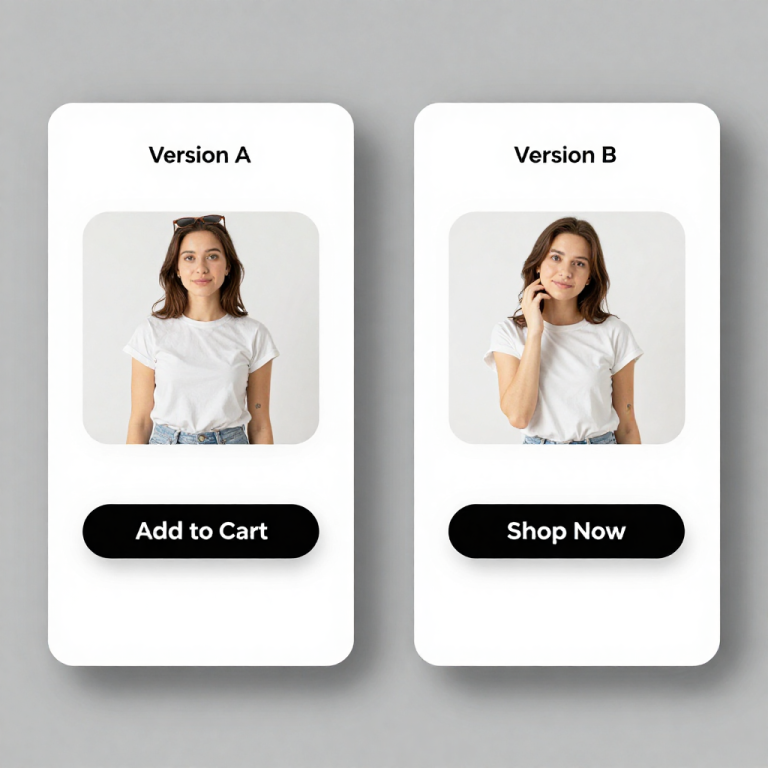
Using your chosen A/B testing tool, you’ll create your test.
- Version A (The Control): This is the original version of your product page as it exists right now, with the button text “Add to Cart”.
- Version B (The Variant): Your A/B testing tool will create a replica of your original page. Here, you’ll go in and make exactly ONE change: change the button text from “Add to Cart” to “Shop Now”. Everything else on the page, images, product descriptions, pricing, etc. must remain identical.
Step 5: Run the Test
Once your variants are ready, it’s time to start the test! Your A/B testing tool will automatically handle splitting the traffic. It will ensure that 50% of your visitors are directed to Version A (the control) and the other 50% are shown Version B (the variant).
Now comes the crucial part: waiting. Resist the urge to peek at the results hourly. As mentioned earlier, let the test run for at least a couple of weeks to capture consistent data and avoid premature conclusions based on short-term fluctuations. Your tool should ideally provide you with a confidence level or statistical significance metric to help you know when it’s safe to declare a winner.
Step 6: Analyze Results
When your test has run for long enough and has a high level of statistical confidence (e.g., 95% or higher), it’s time to analyze the performance. Don’t just look at the raw numbers; use the reporting features in your A/B testing tool. Key questions to ask:
- Which version had a higher conversion rate for your defined goal? In our case, which button text resulted in more ‘Add to Cart’ clicks?
- How significant is the difference? A 0.2% difference might not be significant, while a 15% increase is a strong indicator.
- Are there other metrics that were affected? While your primary focus is your goal metric, your tool might provide insight into secondary metrics like page views or average order value, offering additional context.
Based on the data, determine which version performed significantly better.
Step 7: Apply the Winner
Congratulations, you’ve found a winner! This is the most rewarding part of the entire cro process.
- If Version B (“Shop Now”) clearly outperformed Version A (“Add to Cart”), implement this change permanently on that specific product page.
- If Version A (the original) performed better, you’ve learned that your original choice was already optimal for this element, which is also valuable data. You’d keep the original page as is.
- If the results were inconclusive (no significant difference), you can either choose to go with the version that feels right or, better yet, test a completely different variable.
Applying the winner is essential to realize the benefits of A/B testing. Once you’ve implemented the winning change, don’t stop! Move on to your next test and continue optimizing.
Best A/B Testing Ideas for Shopify Stores
To give you some inspiration, here are some high-impact A/B testing ideas perfect for Shopify stores:
- CTA Button Text & Design: Test variations like “Buy Now” vs. “Add to Cart”, “Shop the Look” vs. “Shop Now”, or experimenting with different button colors (e.g., green vs. orange).
- Product Images: A powerful variable. Test a lifestyle image against a plain white background shot. Test showing different angles of the product or using a high-quality product video instead.
- Pricing Format & Discounts: Compare showing a simple final price to a clearer “was/now” style with a bold savings percentage. Test different discount messaging (e.g., “$10 OFF” vs. “15% OFF”).
- Product Descriptions: Try a concise bulleted list of features against a longer, benefits-driven narrative. Test using more sensory language or telling a story about the product.
- Page Layout Changes: Experiment with moving key elements like customer reviews or trust badges to different positions on the page (e.g., above or below the ‘Add to Cart’ button).
- Trust Badges and Reviews Placement: These are crucial for building trust. Test placing trust seals (e.g., security certificates, money-back guarantees) and genuine customer reviews in different locations.
Start with testing one element on your highest-traffic pages to maximize the potential impact of your findings.
Tips to Get Better Results from A/B Testing
- Test Continuously: A/B test is not a single event. Create a habit of it in your marketing and development process. The optimization of something is always there.
- Focus on High-Impact Pages First: Begin testing your product pages, checkout page or landing pages of ad campaigns. These key touchpoints are the ones that would most probably bring the highest returns.
- Keep Records of Tests: Keep a small spreadsheet or document with records of the date, what you had tested, your hypothesis, the two versions, and the ultimate results. This will accumulate your knowledge base and will not allow you to test the same hypotheses again.
- Think Like a Customer: In brainstorming about test ideas, attempt to place yourself in the position of your customers. What are the possible objections to them? What information do they seek? Put on test solutions to their possible issues.
- Start Small and Scale: Start with less complex, such as button text or color. Once you are more familiar with the tools and the process, you can proceed to more complicated experiments.
FAQs Section
- How long should an A/B test run?
There is no universal answer to this but as a rule, allow a test to last at least 7-14 days. It must last long enough to capture the changes in traffic over the course of a week (e.g. weekends and weekdays). A good CRO tool will offer you a statistical significance and it is the most correct method of knowing when to declare a winner. - Do I need technical skills?
Not at all! The number of A/B testing applications that are user-friendly and specifically targeted to Shopify is many. They provide easy visual editors in which one can easily make simple edits about the colors, text and layout of buttons without coding knowledge. - Can small stores do A/B testing?
Yes! Small stores with less traffic can also be used. Your tests may require more time to give statistically significant results but you can still learn something useful. Begin with the optimization of some of the most important high-impact pages and you can increase your testing as your traffic increases.
Conclusion
A/B testing is an efficient, yet realistic, method for systematically expanding your Shopify sales. By using actual data to understand visitor behavior, you can move beyond guesswork and implement the kind of meaningful optimization that a professional CRO Expert Company uses to drive a greater number of conversions. This comprehensive guide has provided you with a clear, step by step A/B testing process to follow, from defining your goal to applying your findings.
The key is to start now. You don’t need to wait until your store is “perfect” or your traffic is astronomical. Begin with one basic test on an important page today. By remaining patient, systematic, and determined to make data-driven decisions, you will gradually enhance your store’s performance and scale your business, one successful test at a time.